Setting up FS-UAE for Amiga emulation in 2020 on Linux
Topaz is a huge fan of Amiga computers and so am I. Here’s how to set up FS-UAE on Linux to do emulation of one of his first computers, an Amiga 500 with a 1 meg Fast RAM expansion card. On that emulated machine, I want to do two of the things I used to do on the Amiga all the time: draw and write code. Games emulation is easy compared to getting apps working well.
-
Buy one of the Amiga Forever packs that includes both ROMs and Workbench/Kickstart disks. Since you’re using Linux for this, you don’t need the Windows installers. Wink.
-
Get your favorite BitTorrent client (that you only ever use for legal purposes) and download a TOSEC Commodore Amiga archive off of archive.org.
- You can try out some of the original individual games or apps,
but it’s way easier if you have all of the
adffiles locally. It’s only 37GB, just grab it.
- You can try out some of the original individual games or apps,
but it’s way easier if you have all of the
-
If you’re using an Ubuntu distro like me (I use Kubuntu), use the PPA for FS-UAE to get the most recent versions of FS-UAE and the launcher installed.
-
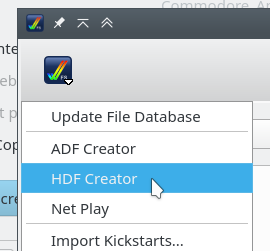
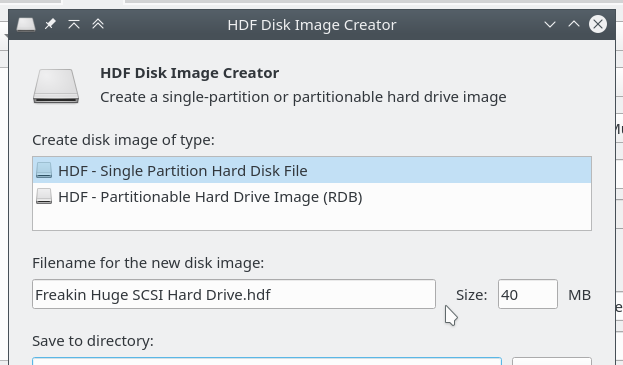
Use FS-UAE Launcher to create at least a 40MB hard disk image, ‘cause that’s what I had and I really did think 40MB would be enough for anybody. Until I discovered MP3 files.
-
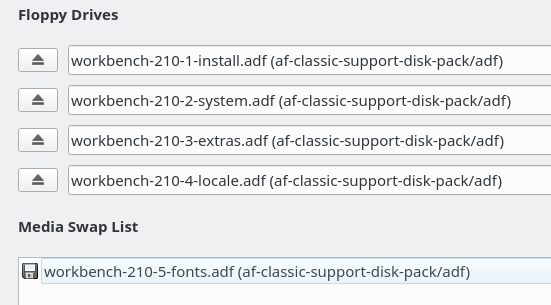
I’m going to install Workbench 2.1 to the hard drive by mounting four of the installer discs into the virtual Amiga, and putting the fifth into the Swap List.
-
Once you’ve installed Workbench to the hard drive, putting games and other floppies into the Media Swap List is the way to go. Most games and such could boot themselves from floppy, so if you wanted hard drive and Workbench access, you had to insert the floppies after boot. If you wanted to skip the hard drive altogether, mount the floppy.
-
ALSO put the install floppies into the Swap List, in case you have to remove one, then put it back in. A floppy that was mouted at the start isn’t automatically added to the Swap List if you remove it.
-
-
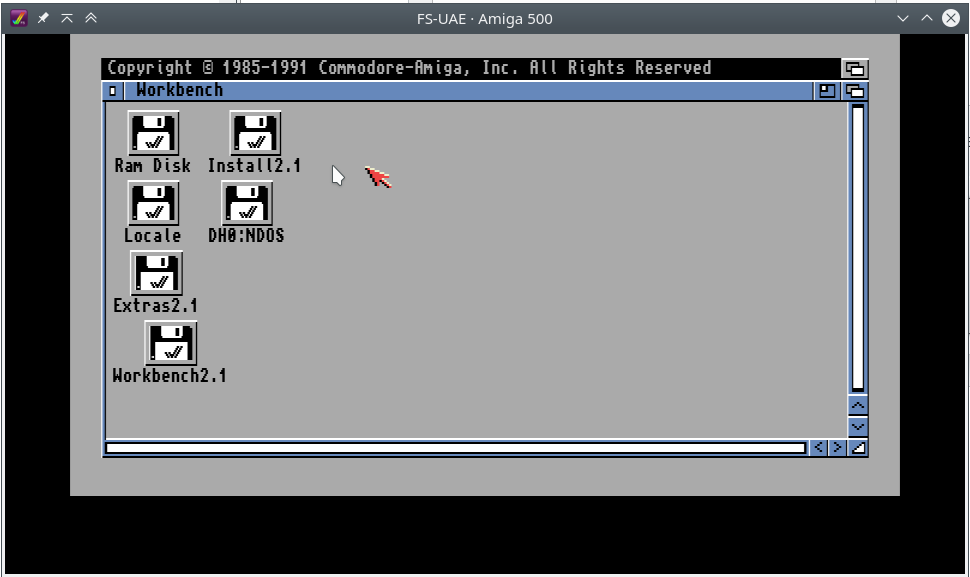
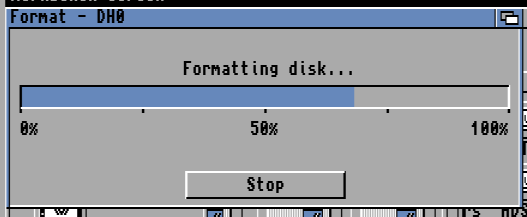
After you boot, you’ll have to format the hard drive.
-
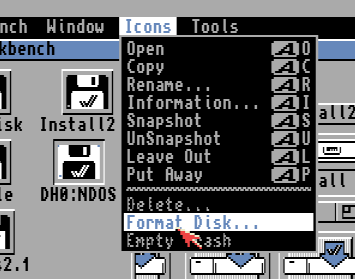
Left-click the hard-drive, then right-click-and-hold and go to Icons > Format Disk…
-
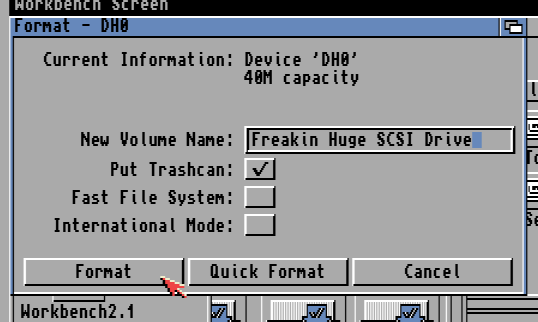
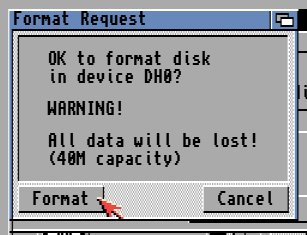
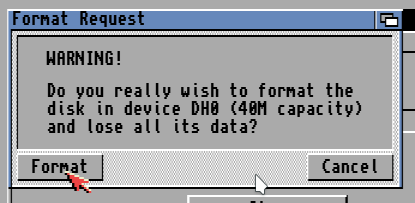
Since this is a hard drive, it’ll confirm, like, three times, that this is what you want to do. Take the default settings, give the drive a clever name, and format.
-
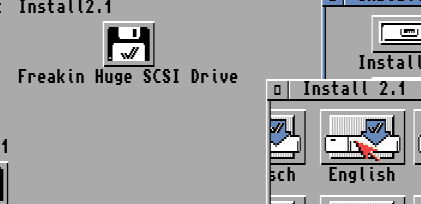
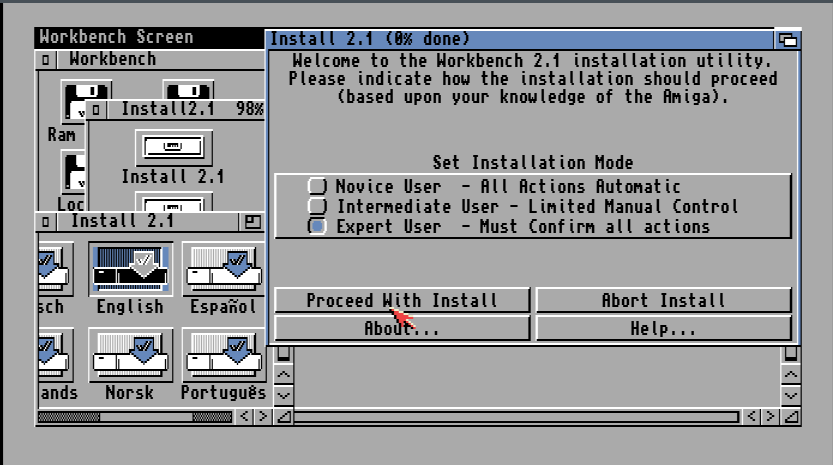
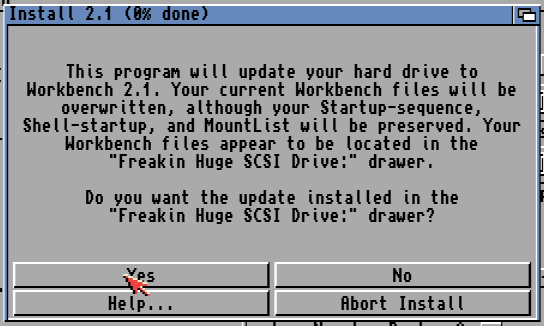
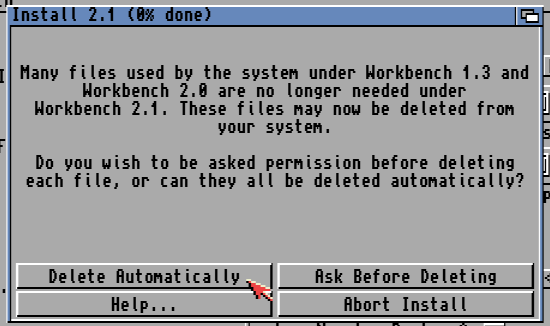
Once you’re done, you’ll have your Freakin Huge SCSI Drive. Dig around in the Workbench installer floppy and run the English installer. I did an Expert install in the English language.
-
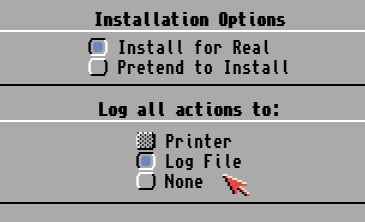
This thing produces log files? And has a dry run mode?
-
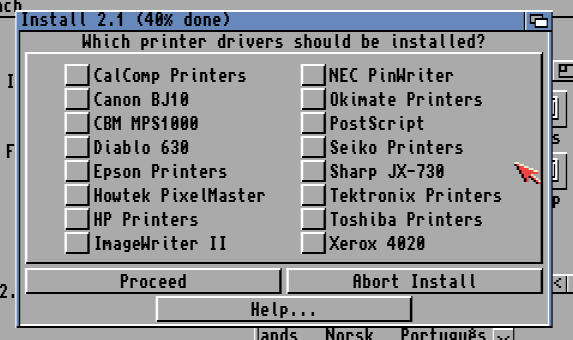
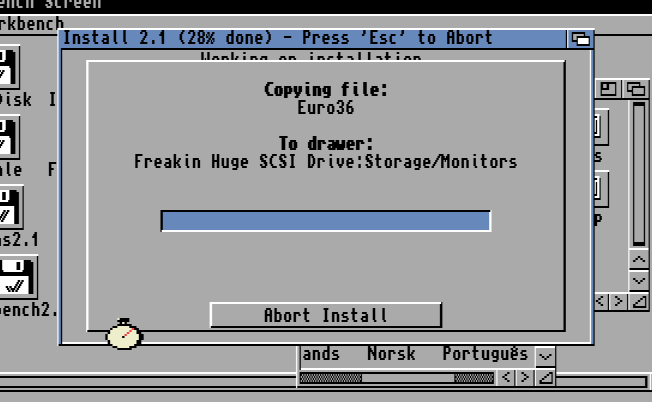
Let’s do this. Enjoy those floppy drive sounds coming from FS-UAE, and then imagine that there are actually motors making those.

-
At one point in the timeline of this universe, this question would have made a lot of sense and caused someone to Abort Install, despite the install basically being over at this point.
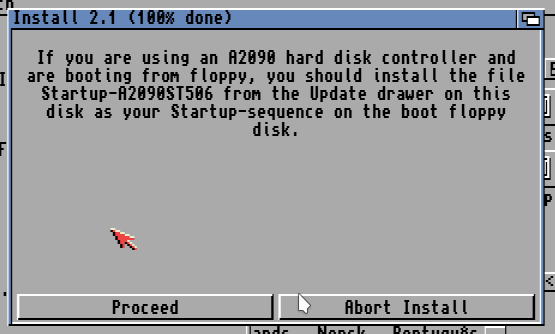
-
After a lot of floppy disk grinding and swapping, we’re done!
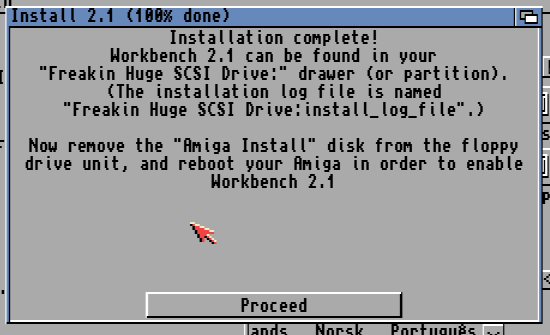
-
We’ll eject the floppies in FS-UAE and reboot.
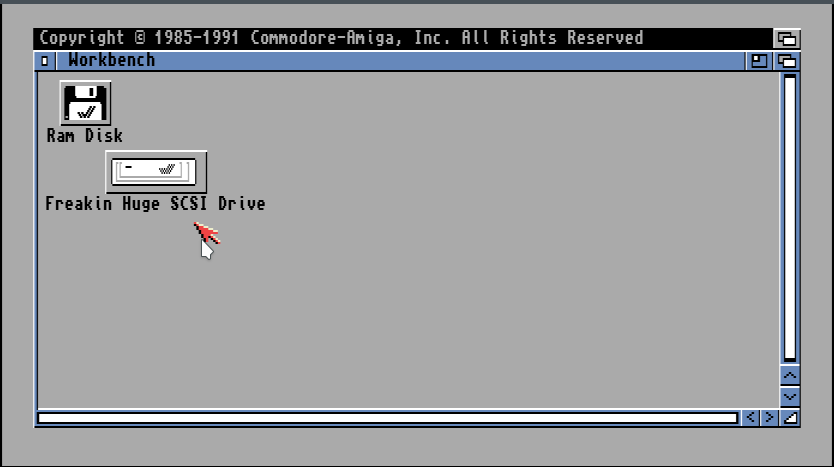
-
Now to look at that log file. In
more.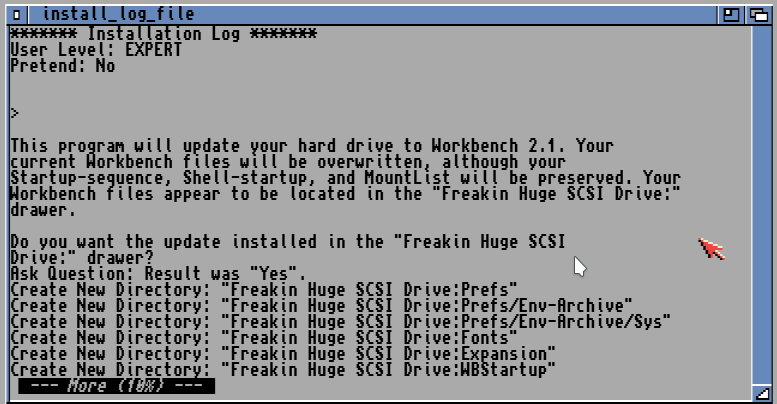
And there we go! I now have a hard disk image set up to run on an emulated Amiga 500!
