Bun Runner Devlog -- 2025-01-10

January 10, 2025

Not much in the way of visuals to show this week. My focus has been to flesh out more of the unit test suite, allowing me to fix a few bugs in the process as well as perform some nice optimizations on some oft-called code.

I also discovered a good, extensible approach to building switch statements in assember without using a big list of CMP/BEQ statements, which requires writing lots of code and is also costly execution-wise. Any code I’ve run into that uses the CMP/BEQ approach I’ve been converting to this new approach, which is another reason for no real visuals this week.

The approach comes from a post on English Amiga Board: https://eab.abime.net/showpost.php?p=1548231&postcount=7

The example in the post is specific to the original asker’s use case, so I’ll provide a more generic example for DevPac, along with a unit test written in CuTest for SAS/C:

; switch.asm

  ENUM ; MyChoices
  EITEM ItemOne
  EITEM ItemTwo
  EITEM ItemThree

  ; make accessible to C
  XDEF _MySwitch

; @inreg D0 enum MyChoices
; @outreg D0 final value
_MySwitch:
  ADD.W D0,D0                   ; jumpTable entries are word sized
  MOVE.W .jumpTable(pc,D0.W),D0 ; get the offset from .jumpTargets
  JMP .jumpTargets(pc,D0.W)     ; go!

.jumpTable:
  ; these are in enum order
  DC.W .itemOne-.jumpTargets
  DC.W .itemTwo-.jumpTargets
  DC.W .itemThree-.jumpTargets

.jumpTargets:
.itemOne:
  MOVE.L #4,D0
  RTS

.itemTwo:
  MOVE.L #20,D0
  RTS

.itemThree:
  MOVE.L #50,D0
  RTS
// switch_test.c
#include "cutest.h"

enum MyChoices {
  ItemOne,
  ItemTwo,
  ItemThree
};

// this looks for an exported _MySwitch symbol
uint32_t __asm MySwitch(register __d0 uint32_t myChoice);

void T_switch(CuTest *tc) {
  uinit32_t result;

  result = MySwitch(ItemOne);
  CuAssertIntEquals(tc, 4, result);

  result = MySwitch(ItemTwo);
  CuAssertIntEquals(tc, 20, result);

  result = MySwitch(ItemThree);
  CuAssertIntEquals(tc, 50, result);
}

void switchSuite(CuSuite *suite) {
  SUITE_ADD_TEST(suite, T_switch);
}

Bun Runner Devlog -- 2025-01-03

January 3, 2025

Look at that smooth fade in:
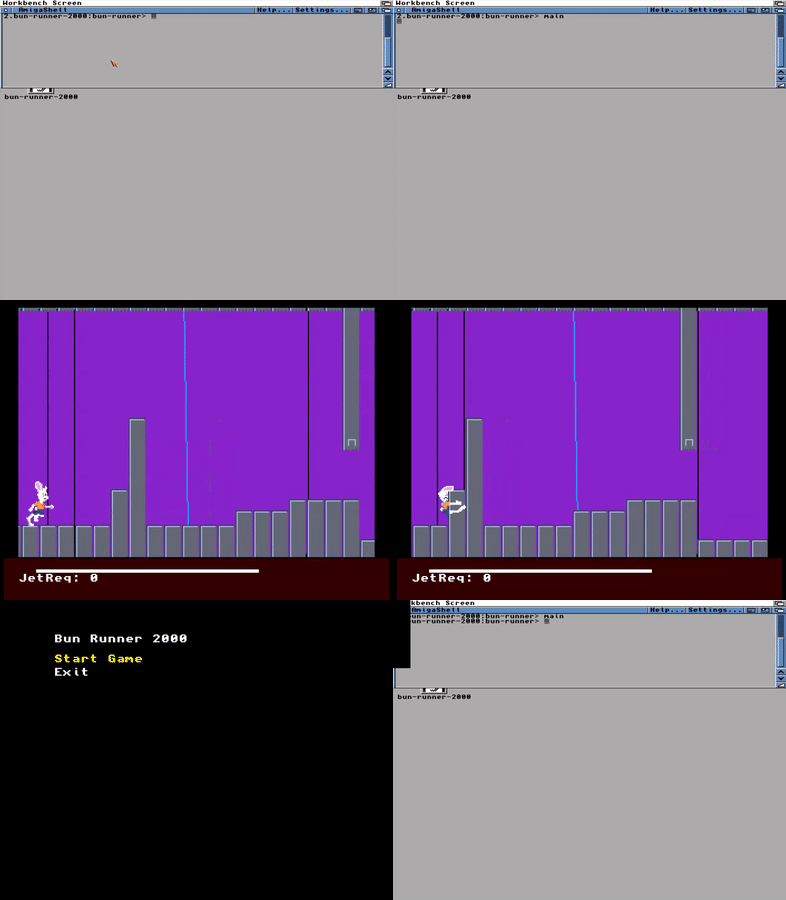
Bun runner game map and sprite fade in from black

The palette manager I talked about on 2024-12-22 is finally plugged in at the right place to allow the game to fade in the palette from black (or, really, any color) when the level starts up.

Interfaces, implementations, and dependencies

As I’m writing unit tests for all this, it’s required me to really think a lot about how to structure everything. Originally, I had mashed together a lot of the implementation details into what I call the Game Screen, the main display of the game. This includes:

  • double buffering
  • palette color definitions
  • the Copperlist definition
  • an implementation of “wait for bottom of frame”
  • RastPort building for the lower part of the screen for using AmigaOS graphic routines like text drawing

This is a very shallow interface! And these also bring in a lot of dependencies. This makes unit testing difficult, and would make future reuse challenging as well. I ended up splitting out some of the Copperlist handling and the palette definitions to separate modules. The palettes are currently hardcoded via INCBIN, but they’ll soon enough be loaded dynamically for each level, so they need to be in a separate place anyway.

This allowed me to write some very specific tests for the following:

  • ensuring a palette fade structure could be built for all three palettes: the foreground, background, and sprite palettes. This structure is essentially a multidimensional array built to be easily iterated in assembler.
  • ensuring that I can pick an index in that multidimensional array and set the game screen Copperlist colors from that array data correctly
  • walking through the “level starting up” logic, which includes:
    • prepping a bunch of state and setting default copperlist colors
    • pausing for specific numbers of frames in between palette changes or when about to start the game

Mocking Amiga system libraries in unit tests
Anthropomorphic female squirrel in front of a bulleting board with cards with numbers

Testing that the pauses were working correctly was an additional challenge. I actually built out the ability to mock Library Vector Offset (LVO) routines in libraries so that I can call WaitTOF() directly in the code and not have to deal with:

  • some hacky solution in the assembler code to allow mocking
  • the inability to spy on real library function calls w/o patching the library itself
  • undesired side effects in unit tests like having real frame delays

I covered Library Vector Offsets a little bit in my video about revisiting the AMOS Pro BSDSocket code I wrote 20+ years ago, but never went into precise detail as to what they are. Essentially, they are a list of JMP instructions that live at negative offsets from the library’s base that you get from OpenLibrary(). The stuff actually at the library base varies – for the Graphics library, for example, it includes links to interrupts, fonts, and other data you’d want for OS-compliant graphics routines.

Using an LVO in assembler looks like this. There may be some sugar around the JSR call and how you get the LVO, but it all turns into this eventually:

_LVOWaitTOF EQU -270

  MOVE.L _GfxBase,A6
  JSR _LVOWaitTOF(A6)
  ; the next instruction

A6 is the address register that AmigaOS always uses for LVO-based calls. There’s no technical reason, just convention. JSR is “Jump to Subroutine”, which pushes the memory location of the next instruction onto the stack and changes the code executation location to the provided address. In this case, that address is “whatever is in A6 minus 270”. JSR expects that you’ll eventually RTS, or “Return from Subroutine”, which involves changing the code execution location to the value that’s popped off the stack.

What’s at “whatever is in A6 minus 270”? It’s this:

  JMP <place where the code actually lives>

JMP is “Jump to Location” and it doesn’t expect that you RTS. However, the code that you do jump to does RTS, which means you’ll end up back where you left off in you own code anyway.

LVOs are always 6 bytes away from each other. Why six bytes? Because that’s how many bytes it takes to hold a JMP instruction:

4EF9 FFFF FFFF ; 4EF9 == JMP, FFFF FFFF == 32-bit (4 byte) memory address

Check out the chart here for more opcode details: https://info.sonicretro.org/SCHG:68000_ASM-to-Hex_Code_Reference

This approach means you can change the contents of a library function to your heart’s content and not have to worry about updating function calls when you release a new version. The address of the JSR may change, but the LVO won’t (and can’t!).

Library bases in C and Assembler

_GfxBase is another Amiga library convention. C compilers like SAS/C can automatically open and close libraries for you, if they have the right information. When they do this, they normally place the address of the base of the library in a global variable. The name of that global variable comes from the library’s fd file, in the ##base field. That global variable is then used to JSR to the correct LVO and put the function’s parameter values in the correct registers. Look up pragma libcall in the SAS/C Development System Library Reference for details on how that works.

On the C side, if you do nothing but use Graphics library routines, you get that global _GfxBase variable (seen as GfxBase-no-underscore in C because of how variable and functions are made public in C code). With the right included file setup, your assembler routines that use _GfxBase can use either ones your assembler programs open, say in a system.asm file that opens and closes libraries and has that public variable, or the one that just happens to come along with your C unit tests.

So to get mocked Amiga library functions, I:

  • create a block of memory big enough to cover the size of the largest LVO call I’m going to make
  • place a JMP <address> instruction at each point from the end for each LVO, with the address being the pointer to a mock function in my C test suite
  • set the library base to the end of that memory block
  • call the library like I normally would in assembler or C

This means that my assembler code under test operates as expected, but now the calls to WaitTOF() are logged and I can treat them as you would any other mock in any other testing framework.

Bun Runner Devlog -- 2024-12-22

December 22, 2024

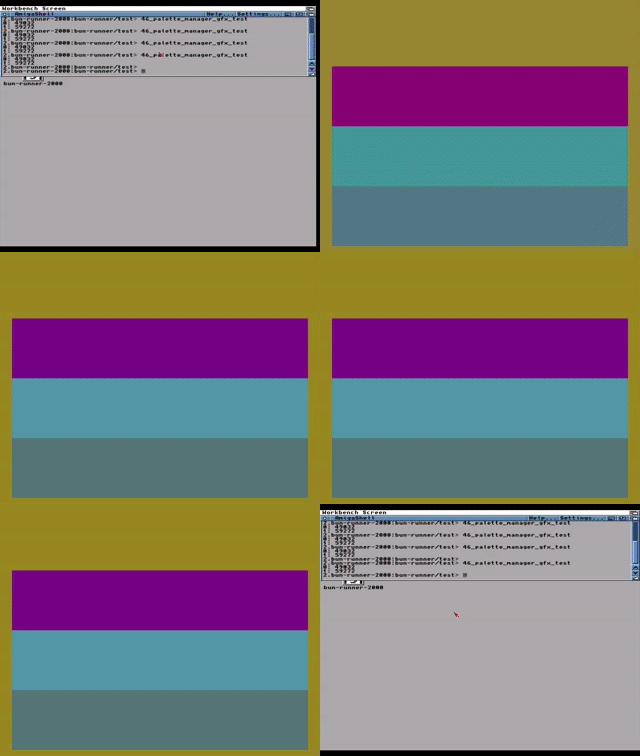
I decided to work on the palette manager, and now I can fade between arbitrary palettes of colors:

Four colored blocks fading between different colors

The fading algorithm is a slightly tweaked implementation of Bresenham’s line algorithm. I know I built paletete fading code back in the AMOS days, very likely using a ratio approach like this:

m% "start color channel value" + "color channel delta" * ("current step" / "step count") %m

The issue is arbitrary multiplications and divisions on the 68000 processor are expensive. Compare the roughly worst-case cycle time cost of MULU and DIVU to MOVE, LSL, and ADD:

  • MULU: 70 cycles
  • DIVU: 140 cycles
  • MOVE.L to/from memory: 8 cycles
  • LSL.L: 8 cycles
  • ADD.L: 12 cycles

(Values from MC68000 Instructions Timing)

If you’re efficient, you can do a lot of stuff in the time it takes one division operation to take place!

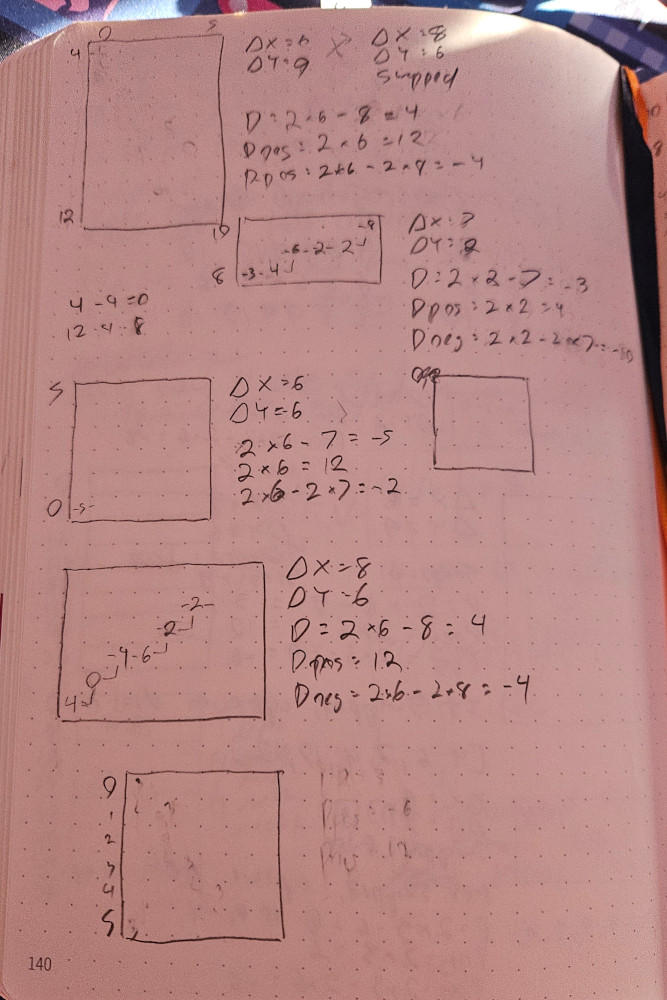
The Bresenham implementation is all fixed point with no multiplications or divisions, and it’s pretty fast. This is also an algorithm I’m sure I’ll come back to a lot in retro development, so I wanted to get good with it:

A notebook page filled with Bresenham line drawing attempts

The unit testing I alluded to in my last post helped out a lot with implementing this. Being able to write code like this to test out the results of the assembler-based algorithm made it way easier to find bugs and discover issues in my algorithm:

void T_buildColorTransition(CuTest *tc) {
  uint16_t targetMemory[7] = { 0, 0, 0, 0, 0, 0, 0 };
  struct ColorTransition ct = {
    0x845,
    0xAC0,
    0,
    6
  };
  int i;

  buildColorTransition(
    targetMemory,
    &ct
  );

  CuAssertIntEquals(tc, 0x845, targetMemory[0]);
  CuAssertIntEquals(tc, 0x864, targetMemory[1]);
  CuAssertIntEquals(tc, 0x983, targetMemory[2]);
  CuAssertIntEquals(tc, 0x992, targetMemory[3]);
  CuAssertIntEquals(tc, 0xab1, targetMemory[4]);
  CuAssertIntEquals(tc, 0xac0, targetMemory[5]);
  CuAssertIntEquals(tc, 0, targetMemory[6]);
}

Additionally writing unit tests forced me to build an interface to the palette manager that was reusable. Lots of structures to manage incoming data, and well-defined inputs and outputs means that reusing this code in future programs, like the demo code above, was trivial.

I’ll be getting back to the head collision physics, and probably implementing more unit tests around that, since hand-testing the collision code requires a lot of setup and me jumping really precisely. Tests should speed up that feedback loop a lot.

Bun Runner Devlog -- 2024-12-14

December 14, 2024

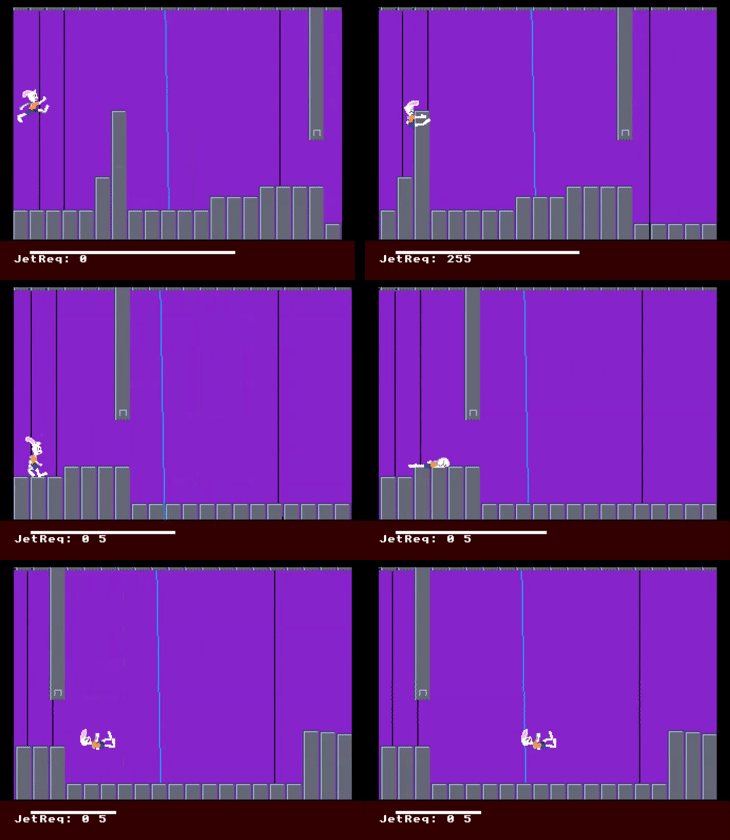
All three collision types are now working! (well, mostly working):

Game footage of rabbit tripping, hitting a wall, and hitting their head on a wall

I need to do something about that last one, when you are going to go over an edge. I may just have to extend the physics engine a bit more to make that look good. Thankfully, I have a new tool in my retro development toolkit to make that a lot easier to implement.

I have unit tests with CuTest working with assembler code, so I can write tests for some of the more complicated data transformations (like collision physics) rather than using slow and error-prone hand testing:

Console window showing assembler and C unit test code, as well as test runner results in an emulated Amiga

As I describe on my wiki page about the subject, you have to set the stack up to around 30000 bytes on the Amiga for the test to run. You also have to include the math library. Get those in place, and you can easily run tests against any symbols exported from your assembler code.

Next is fixing that head konk collision ground slide, then implementing a palette manager which can set Copperlist palettes as well as perform transitions between two palette sets, to allow for color fades in and out and other effects.

Bun Runner Devlog -- 2024-12-08

December 8, 2024

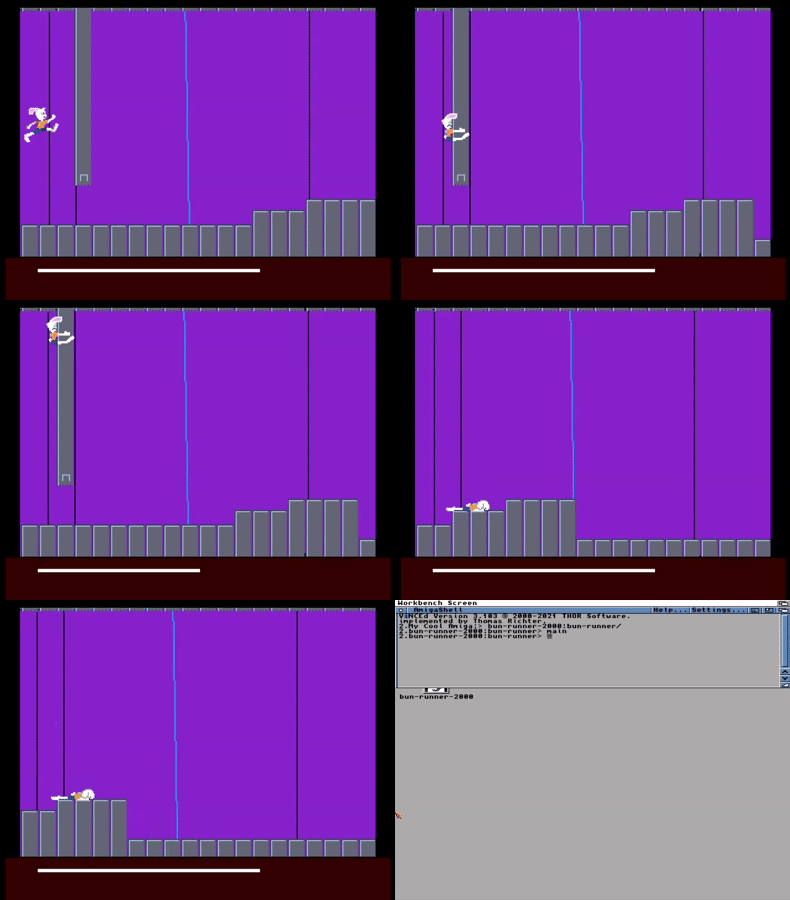
I have two of the three collision types working! Well at least the basics of them working:

Game footage of rabbit tripping and hitting a wall

I also got the tiles background working, though for performance reasons I made the backgrounds 512px wide so it’s easier to do bitwise math for calculations.

Doing both of these things required restructuring a TON of code, and included working out good ways to do unit-ish testing in C of the assembler code I’ve been writing. It’s also helped me focus on ensuring dependencies between areas of the game code are as few and deep as possible.

Next is finishing up the final collision type, the rabbit hitting its head. This will involve the physics necessary to get the rabbit to fall correctly and hit the ground. Then I’ll be doing a few additional frames of animation and moving on to other parts of the game.

Bun Runner Devlog -- 2024-11-22

November 22, 2024

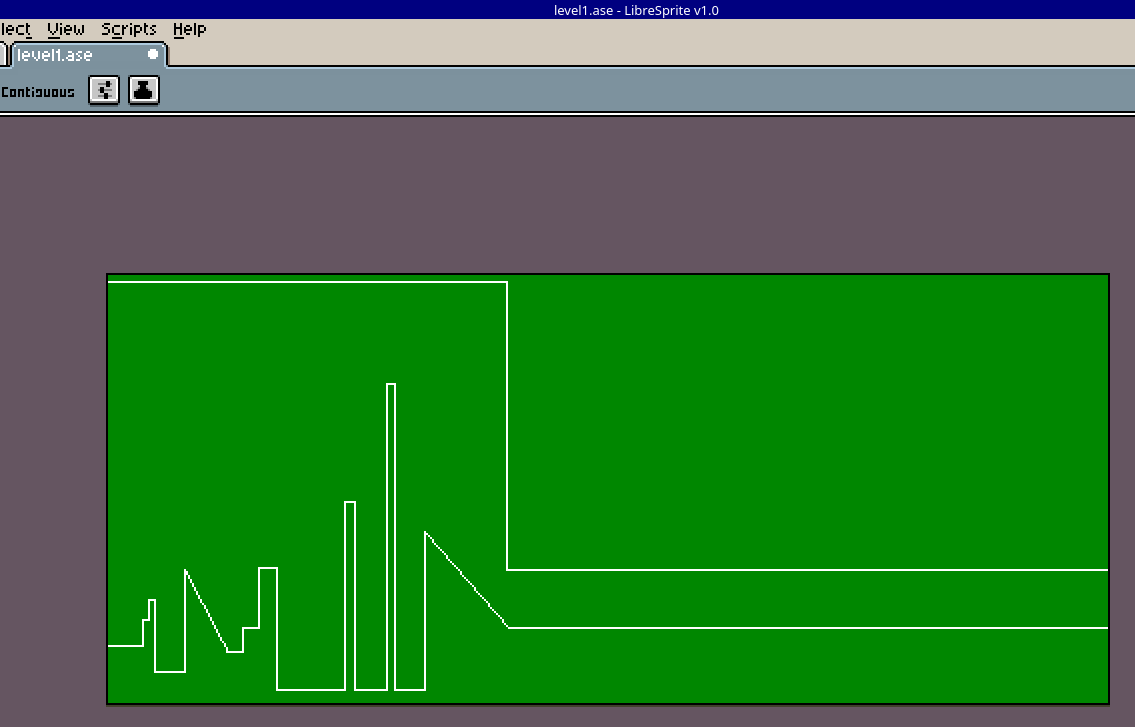
This week was about getting a basic level “editor” working, using a combination of a Ruby script with RMagick and an image from LibreSprite:

Lineart of a level

The level generation works, and I restructured a ton of code to make dynamic level loading work. However, the more complex levels revealed an issue in collision detection that I need to debug.

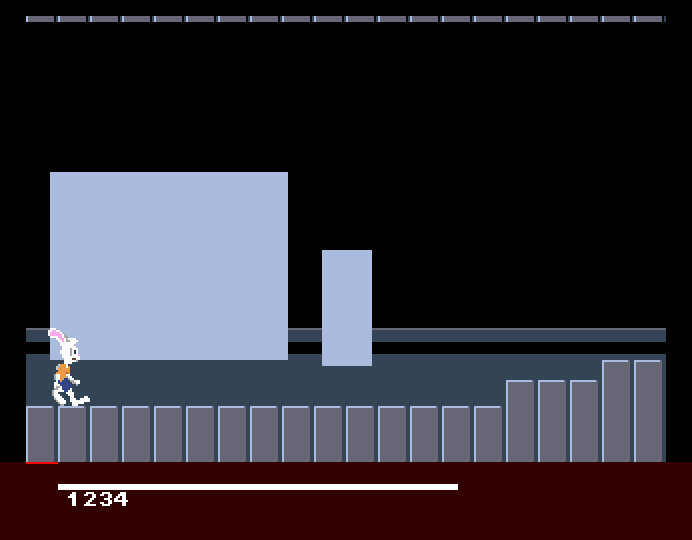
To make this easier, I’m finally adding some on-screen debugging to the game:

Bun Runner game with 1234 printed on screen

I needed the ability to write text to the info screen anyway. I also need to tweak the copperlist split screen a bit more (that’s the red glitch), but that can come later.

Next will be fixing that collision detection, then reworking the background art to be two 640px images that are tiled rather than one massive 1000px image and fixing the background rendering pipeline.