Notes from the Amiga - Building the AjSTer Part 1
Most of the parts to assemble my AjSTer arrived, so I started on construction. I decided to tackle the hardest part first, the soldering. Also, depending on how the soldering came out, I’d likely need to reprint some parts.
I got the primary parts list from BuildingTents’ build, but I ordered a different Micro USB header which seemed simpler to use suggested on Reddit.
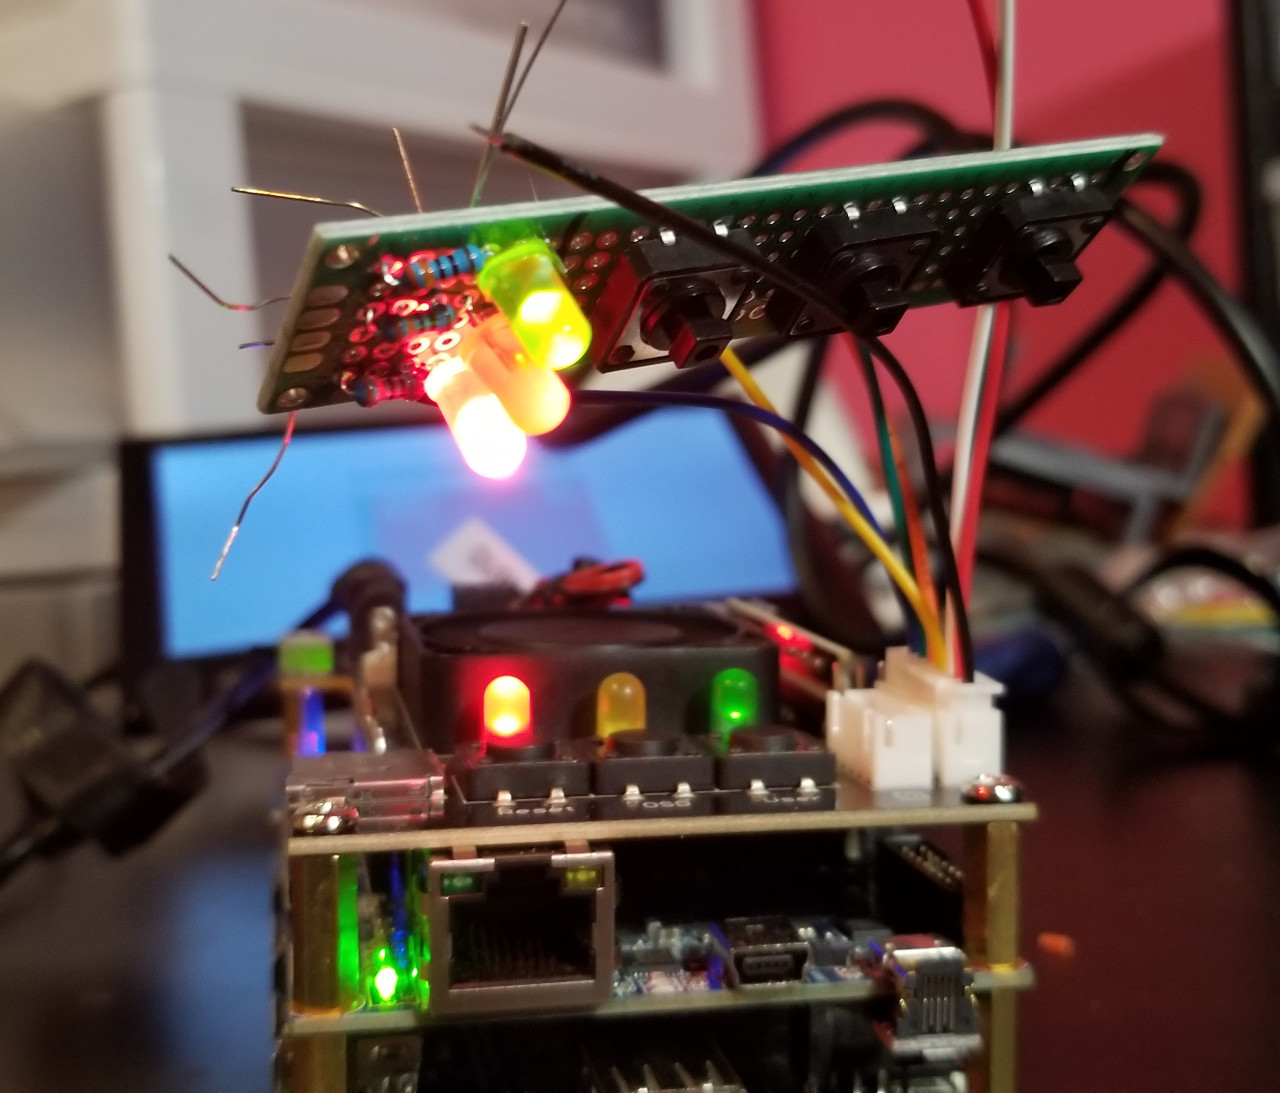
The MiSTer digital I/O board has two connectors for external buttons and LEDs. I found a great diagram showing how to wire up the LEDs, and my breadboard setup and subsequent soldering job worked out great.

The buttons were a little more difficult and required some experimentation. The first pin on the Digital I/O board for the buttons seems to be on the other side of the connector as the LEDs, so I had to wire the buttons “backwards”. Once I figured this out, breadboard testing, and subsequent soldering, went smoothly.
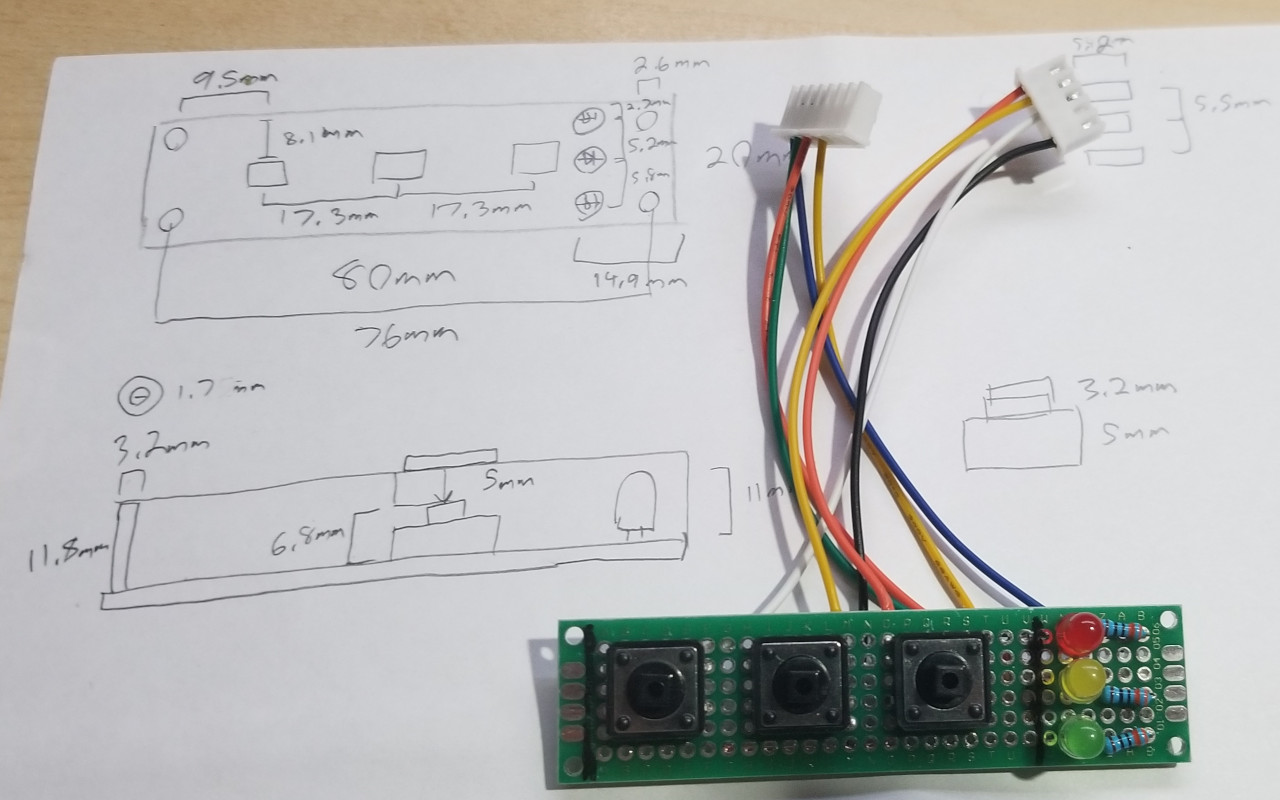
Since the PCB I got wasn’t the same one as the original creator used, the top right part of the case needed to be reworked. I grabbed my calipers and some paper and took as many measurements as seemed to make sense to ensure:
- the board had enough clearance for the LEDs I was using,
- the printed buttons, which I now needed to modify, would extend down from the top of the case far enough to hit the buttons on the PCB,
- and the PCB could be mounted securely to the case, in case I decide to aggressiely reset the MiSTer in a fit of rage from losing at Battletoads yet again.

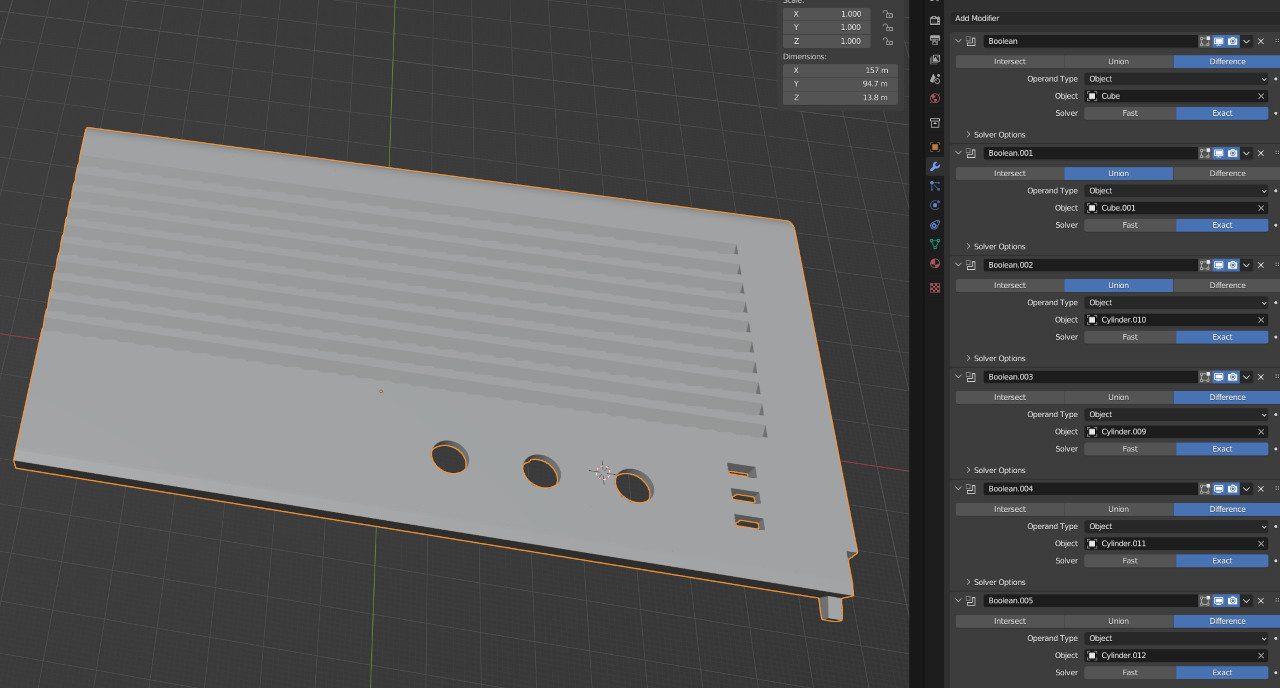
My go-to way of building most 3d models nowadays is using the Boolean modifier in Blender. Rather than directly modifying vertices, I’ll drag cubes and cylinders and whatever overtop of an object and use the modifiers to make non-destructive cuts. This was how I built the floppy disk model for the Amiga Architecture 101 video, and it’s how I modified the AjSTer case model.

As I’m writing this, the new case part and buttons are printing away, and I have one cable I forgot to order, a USB to headers connector for the USB hub, arriving tomorrow. If my schedule holds up, I can have this new case assembled sometime this weekend!
